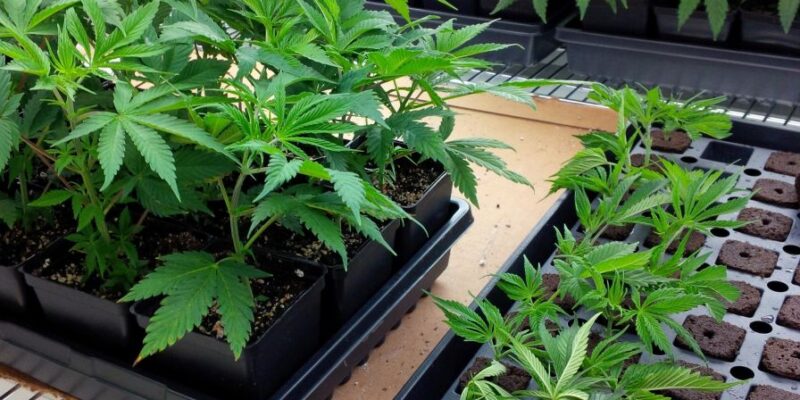
Cloning is a fundamental technique in the realm of horticulture, enabling growers to replicate their favorite plants with precision and consistency. Among the various methods available, using rockwool and/or plugs with cloning gel is popular for its reliability and success rate. In this guide, we’ll explore the step-by-step process of cloning with these materials to help you achieve optimal results.
Materials Needed:
- Cloning gel
- Rockwool cubes or plugs
- Alcohol 90% or Higher
- Sharp scalpel or razor blade
- Spray bottle
- Humidity dome
- Tray or propagation tray
- pH-balanced water
- Heating Mat
Procedure:
- Prepare Your Workspace: Set up a clean and sterile environment for the cloning process. Ensure all equipment is sanitized to prevent contamination.
- Select Healthy Mother Plants: Choose a healthy and vigorous mother plant with desirable traits. Make sure the plant is free from pests and diseases and is at least 2 months old, preferably 3.
- Take Cuttings: Clean your razor blade or scalpel using the isopropyl alcohol. After your blade has completely air dried, take cuttings from the mother plant. Choose branches with multiple nodes, and make clean cuts at a 45-degree angle. The cuttings should be pliable not woody.
- Apply Cloning Gel: Dip the cut ends of the clones into the cloning gel. This gel contains rooting hormones that encourage the development of roots. Be generous but avoid excessive application.
- Prepare Rockwool Cubes and Q Plugs: Pre-soak the rockwool cubes and Q plugs in pH-balanced water. Squeeze out excess water to maintain proper moisture levels.
- Insert Cuttings into Medium: Carefully insert the treated cuttings into the pre-soaked rockwool cubes or Q plugs. Ensure the nodes are in contact with the medium to encourage root development.
- Create a Humid Environment: Place the cubes or plugs in a propagation tray and cover them with a humidity dome. The dome should be misted on the inside with a spray bottle containing PH balanced water. Additionally there should be minimal amount of water in the bottom of the tray. This creates a humid environment, promoting successful root development.
- Provide Adequate Light and Temperature: When it comes to cloning, LED lights work extremely well because they almost perfectly mimic natural sunlight, containing the perfect spectrum of light needed in a plant’s lifecycle. Another redeeming quality of the LED light is its ability to create low energetic waste! Place the tray on the heat mat with the temp of the mat at 75-78°F (23-25°C) maintain a temperature between 72-78°F (22-26°C) on the interior of the dome. This encourages optimal conditions for rooting.
- Monitor and Adjust: Regularly check the humidity levels, and mist the cuttings if necessary. Keep an eye on the clones for any signs of stress or disease, and make adjustments accordingly.
- Transplanting: Once roots have developed, typically in 1-3 weeks, transplant the rooted clones into your desired growing medium or hydroponic system.
By following this guide, you’ll be well on your way to successfully cloning your favorite strains. Remember that patience and attention to detail are key to achieving healthy and robust clones. Happy growing!


